I am not a good free handed detail painter at all-give me a large wall or a piece of furniture and I'm fine, but I wanted to add a lobster image to a small side table as it's going to be for sale at The Makery By the Sea in Kennebunkport, ME. So I searched the web, and found one of the blogs that I follow, Wood Grain Cottage. Shayna had done plant stakes for her garden. I thought I'd give it a try.

See the little wood side table on top of the ironing board to the right?


Then I printed an image of a vintage lobster that I had. Flip the paper over and cover the entire paper with a colored chalk.

Center it on the item being painted, chalk side against the furniture, tape it with blue tape so it doesn't move. Then take a pencil and trace the image. Remove the paper and you'll be left with a light chalk outline of your image.

Go over the chalk line with a pencil to darken the lines slightly.

Grab your paints-I used black and white acrylic to make shades of grey, and brushes and get to work.

This is how it looked-better than I could have ever free handed it! I lightly sanded it along with all the edges of the table for a nicely distressed look, a quick coat of wax to seal it and...
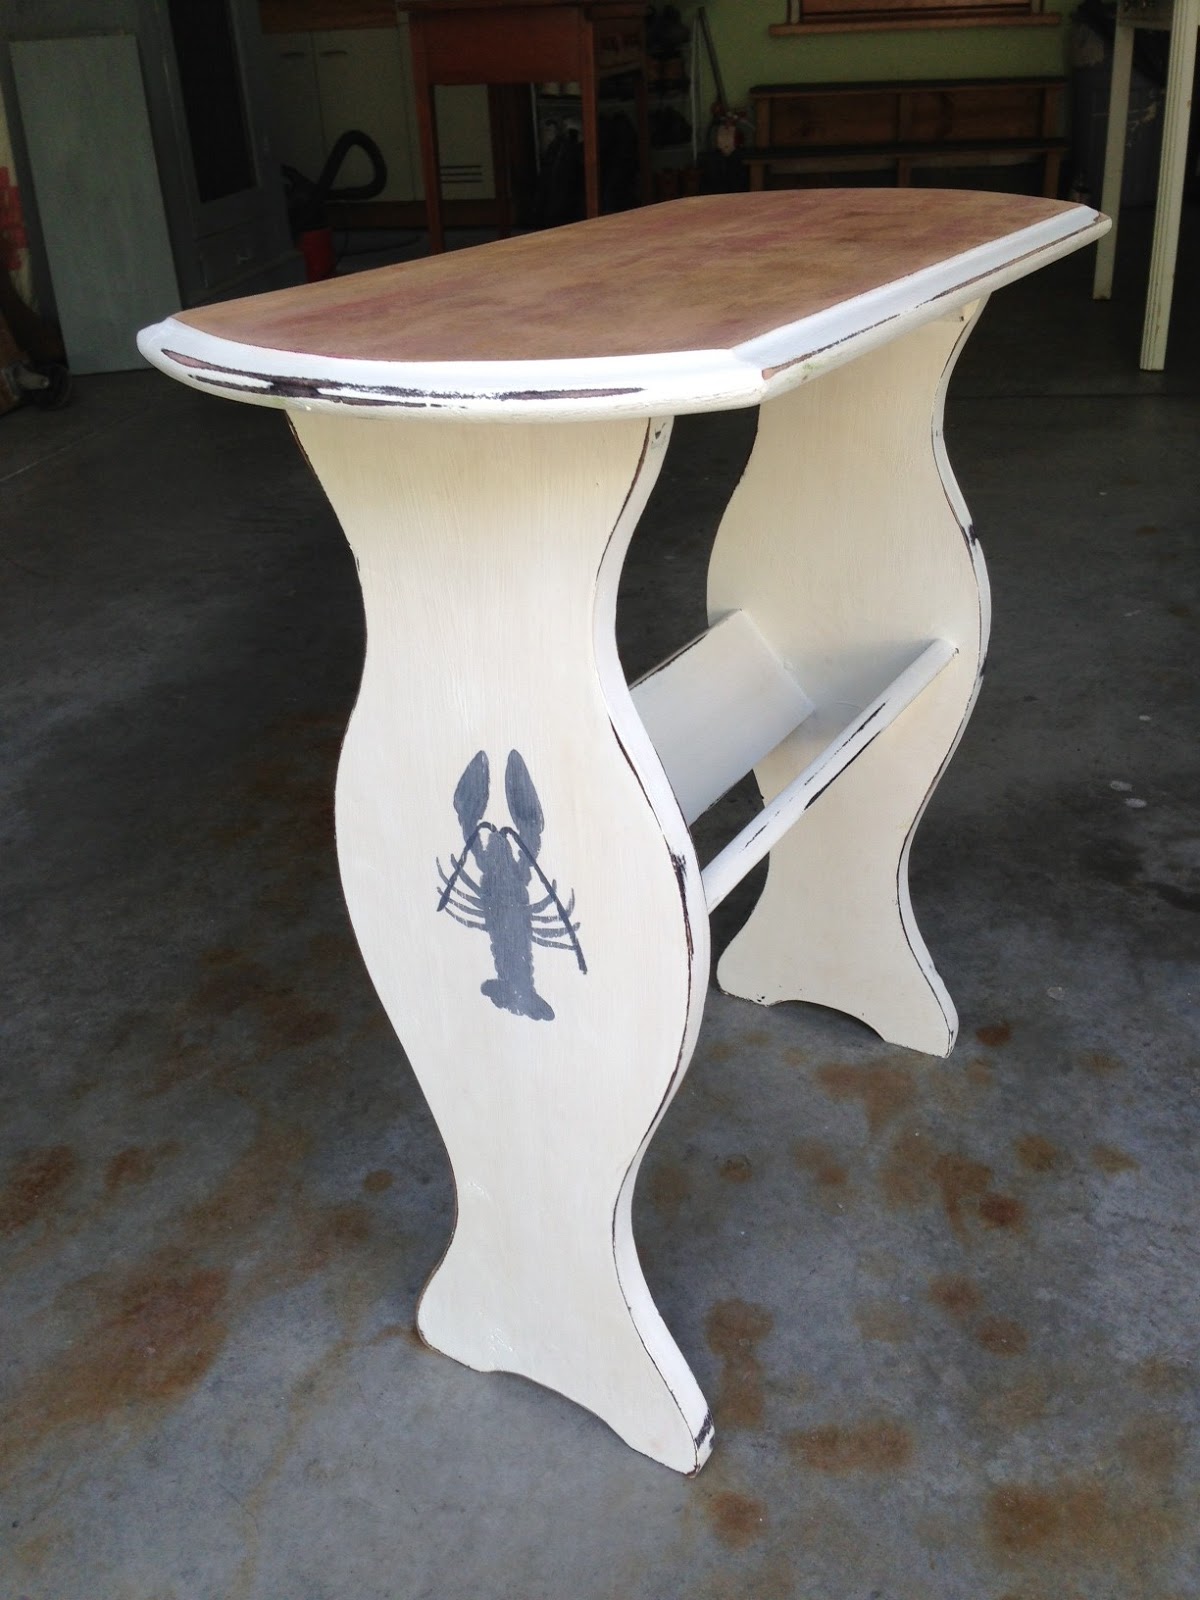
It's done! I was so happy with how it turned out that I had to decorate this tool box that I had just painted white.

It was so easy, a little time consuming, but overall it's exactly what I needed. Now I'm off to try this process with words, like Shayna did. Give it a try!
Enjoy!
~Kris
No comments:
Post a Comment
Drop me a line, I'd love to hear what you have to say!